Commissioning 101

I've been told that there currently is no commissioning manual, so I will try to assemble what I learn in this post.
1) Loading Filament - Place the filament spool on the rollers so that the filament comes off the bottom side. This allows the filament a smooth path into the guide tube.

Trim any filament off that has sticky residue, such as that from the tape that holds the end of the filament to the spool. Carefully bevel the leading edge of the filament so that it can move through the system easily.
Push the filament through the translucent white guide tubes located in the lower rear of the printing chamber, until light resistance is met.
Its not clear on whether you normally have to open the Extruder to guide a new filament through it or not, but at the least if its hung up, opening the Extruder allows access to the knurled drive roll and the forceps re:3D so kindly includes with the printer can be used to guide the filament into the hole that leads to the print head.

2) Starting printer - turn on the printer power using the button on the upper left side of the printer, and then plug the power into the Tablet. Note that a network cable needs to be connected for the Tablet to complete boot-up as its programed to look for a DHCP server to assign it an IP address for communication via web browser.
While the Tablet's display opens a browser by default to the web server built into Open GB's Raspberry PI, it makes more sense to access the printer via a browser on the computer that has your slicing software on.
The documentation for the Raspberry PI's software says that you should be able to navigate to opengb via http://opengb.local:8000. This wasn't true in my case as the printer registered itself as just opengb, but that may also be because my DHCP server is not configured to use .local DNS names. Thus on my network at least, I access the OpenGB web server using http://opengb:8000 instead.
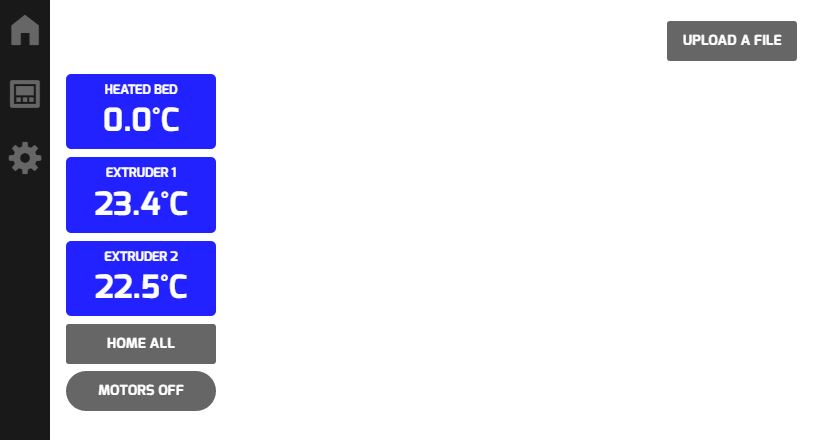
3) It appears that the software on my Raspberry PI might be out of date. Here is what my display looks like:
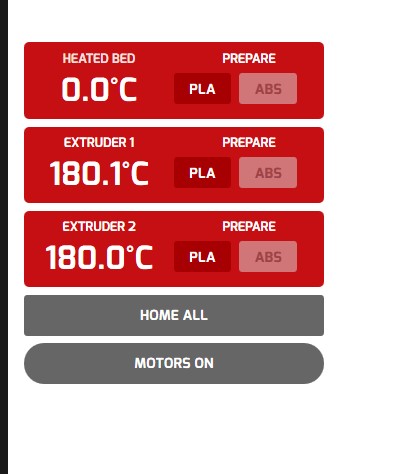
Here is what the display is supposed to look like per the software documentation:

As you can see, mine is missing two icons on the left panel and seems to lack the display of the uploaded file name and related information and the controls for Pause, Stop and to Delete File shown on the left.
Manually preheating the Extruders seems to work but the Bed temperature never changes, and also never displays ambient temperature like the Extruders do.
4) Printing - Still working on figuring this out but I believe I either have uploaded an incompatible file from Simplify3D or that there are some bugs in my Raspberry PI due to it perhaps having a preliminary software version installed.
5) Simplify3D - While there are open source slicing programs available, from the reading I've done over the past few months it appears that Simplify3D is well worth the $140 or so for the license in terms of features, simplicity of use and its ability to provide superior printed output, including doing things like creating superior infills, etc.
That said, I need to read the Simplify3D Quick Start guide at the very least :)
-

With beta user community feedback we’ve initiated a Getting Started node on Wevolver docs, where we'll provide resources that can be used to guide other first-time 3D printing users through the process!
https://www.wevolver.com/re.3d/opengb/getting-started/guide/
Getting Started:
- Uncrating your OpenGB
- Calibration - Bed Leveling
- Post-Assembly Build Guides
- Your First Print - Calibration Prints & Using OpenGB App
Shawn, thanks for taking initiative on sharing your on this post and for giving us the green-light to cross-post it for future beta-users as they on-board! We'd love to know what else would be useful in the process to help other be as successful as they possibly can be.
Feel free to provide any other insights or questions you have in the process -- this feedback is essential for us to know where & how you look for answers!
0
Please sign in to leave a comment.
Comments
1 comment