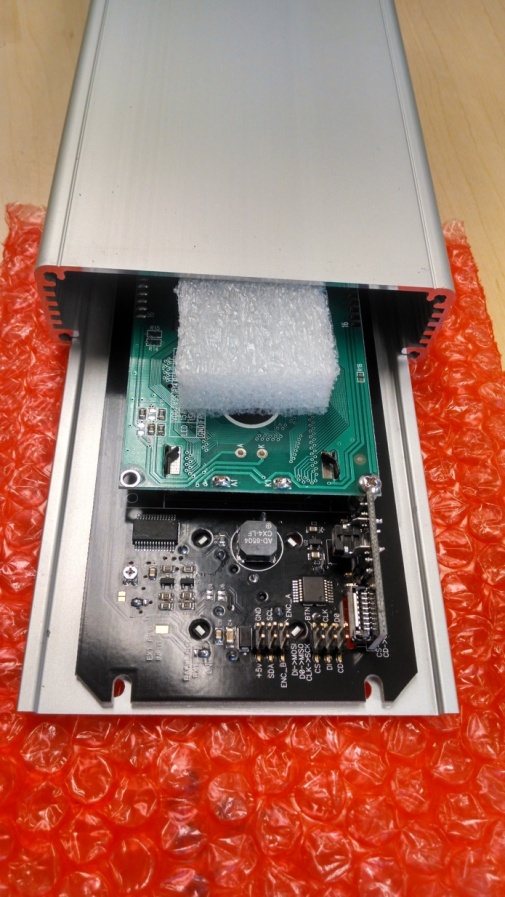
Upgrade your Viki LCD Controller to the newer Viki 2.0 LCD and enjoy tetherless printing without a USB-to-computer connection. The Viki 2.0 LCD provides improved visual indication of print status, including temperature and peripheral activity, and features a new black faceplate and dual-color LED ring around the knob.
You can order a full Viki 2.0 kit, or the LCD panel only. The Viki Holder model is available for download here if you wish to print it yourself.
Note: The kit option is required if upgrading from a Viki 1.0 and includes a 3D printed enclosure, wiring harness and mounting hardware that easily attaches to your Gigabot frame. The Viki 2.0 LCD is only compatible with Gigabots equipped with Azteeg 2.0.
Tools Needed:
- Philips head screwdriver
- 5.5 mm wrench or pliers
- 2mm Allen key
- 3mm Allen key
- Heliostat
Important Safety Information: Disconnect your Gigabot from power and make sure it is turned off during the installation process!

Instructions:
Upgrade from Viki 1.0 to Viki 2.0:
- PDF Instructions for Upgrade
- Wiring diagram for Azteeg X3 with Viki 2.0: Link
Replacing a Viki 2.0 in the Aluminum housing:
- Remove the four screws securing the aluminum LCD enclosure end plate with the cable grommet.
- Slide out the enclosure plate with the Viki attached.
- Note the orientation and location of the two wire bundles connected to the back of the Viki.
- Unplug cables from the old unit, and plug into the new one.
- If you forget the orientation of the wire plugs or if you want to make sure you have the correct orientation of the two plugs, you can reference our Gigabot Viki wiring manual here: Link
- If applicable, connect the faceplate grounding wire according to this article: Grounding the Viki
- Remove the M3 screws securing the old Viki to the cover plate.
- Replace the old Viki with the new one and screw into the mount
Replacing a Viki 2.0 in the 3D printed housing:
- Turn off and unplug the Gigabot
- Unscrew the grommet on the back of Viki mount to release its grip on the Viki cable
-
Use a 2mm allen wrench to unscrew the 4 screws that connect the faceplate of the Viki to its mount.
- Gently remove the Viki from the mount.
- Note the orientation and location of how the two wire bundles plug into the board.
- Unplug cables from the old unit, and plug into the new one.
- If you forget the orientation of the wire plugs or if you want to make sure you have the correct orientation of the two plugs, you can reference our Gigabot Viki wiring manual here: Link
- If applicable, connect the faceplate grounding wire according to this article: Grounding the Viki
- Reattach the Viki to the mount and tighten the grommet.
A complete PDF instruction manual can be found here. If you prefer video instructions, please follow the steps in one of the two videos below depending on your Gigabot model.
Note: Upgrading from a Viki 1 to a Viki 2 requires you to install new firmware.
GB2 Retrofit:
GB3 Retrofit:

Questions or concerns? Reach out to our support team at support@re:3D.org or open a support ticket.
0 Comments