For an in-depth guide, visit the official Klipper documentation: https://www.klipper3d.org/Pressure_Advance.html
*Pressure advance is only supported for filament based printers
*Semi-auto calibrations are supported in re:3D Klipper OS as of v1.3.0
-
Start off by entering global parameters based on your printer type and material. Make sure to click 'Set Parameters' to activate the profile.
-
Scroll down to the Pressure Advance section.
- Click 'Start Calibration' to begin printing the test artifact based on the global parameters. You can navigate back to 'Printer Control' to check progress.
- Wait for the print to finish. It's also okay to cancel the print if quality starts to get worse.
-
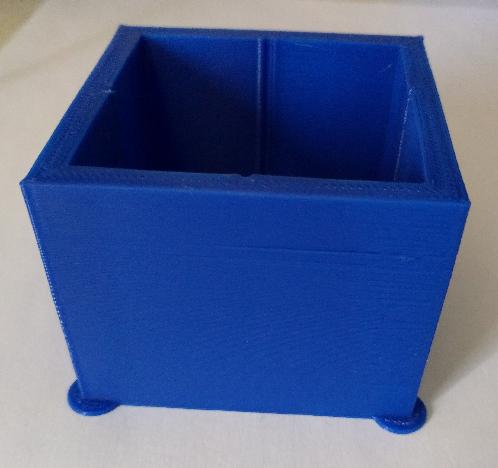
The corners of each wall is what we are interested in measuring. A finished print will look something like this:
-
Inspect the print and use digital calipers to measure (mm) the height that has the best quality corners. When in doubt, prefer a lower height.
- When you've obtained a measurement, multiply that number by 0.005 (measurement in mm * 0.005). This will give you the pressure advance value.
- Input this value into the 'Pressure Advance' calibration section and submit results.
Comments
0 comments
Please sign in to leave a comment.